It’s the TLC your plants need
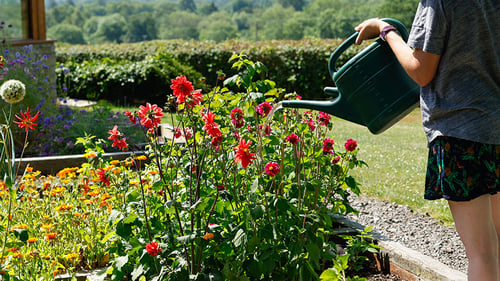
The processing that tap water goes through makes it safe for humans to drink, but it means it’s less friendly for your garden. Firstly, it’s filtered to remove all sorts of nitrates and organic matter that provide nutrients to your plants. Rainwater collected in a water butt still has these extra components.
Tap water is also made slightly alkaline so we can transport it through pipes without them rusting. Rainwater is naturally slightly acidic, which is much better for your plants.
Because it travels through underground pipes, tap water’s naturally colder than the surrounding air temperature – even in summer. This temperature difference can create a thermal shock to plant roots, which puts them under stress. Water from a butt will usually be around the same temperature as the air, making it a gentler experience for your blooms.
It’s safer for ponds
Tap water is usually treated with small amounts of chlorine to remove harmful bacteria and make it drinkable. But this chlorine will upset your pond’s sensitive ecosystem.
When you’re topping up your pond with tap water, you usually need to fill a bucket first and let the water stand for a day or more while the chlorine evaporates off. But with a water butt, you’ve got a pond-ready water source and don’t have to delay.
It helps you dodge the drought
Due to climate change, summer droughts are likely to become more common in the UK. Having a ready supply of rainwater in your garden means when the weather gets dry, you’re stocked up with an extra supply to use in your garden.
Even when there’s a hosepipe ban, it’s fine to use a hose attached to your water butt because it’s not connected to the mains water supply (depending on the height of your water butt and the amount of water in it, you may need a small water butt pump to add enough pressure to use your hose).
It’s a money saver
It’s an obvious one, but worth mentioning: if you’re on a water meter, you’ll be charged for how much water you use from the mains supply. Collecting rainwater in a water butt means you can water your garden, fill ponds and more, for free. A standard 200 litre water butt can pay for itself after one or two summers, depending on your setup and how much water you use in your garden. You’ll be saving money in no time.
So what are you waiting for? Get a water butt today to start saving money and giving your garden the star treatment. Here’s what you need to do.
How to fit a water butt
You should always read the instructions that come with your water butt as there may be specific advice for your product. The notes below give a general overview of the process.
First, make sure you have all these things to hand:
-
Tape measure
-
Pen or pencil
-
Spirit level
-
Hacksaw
-
Drill and hole saw drill bit (unless your water butt has a pre-drilled inlet hole)
-
Rainwater diverter kit
-
Water butt stand (or some bricks)
-
Your water butt
Prepare the area and place your water butt
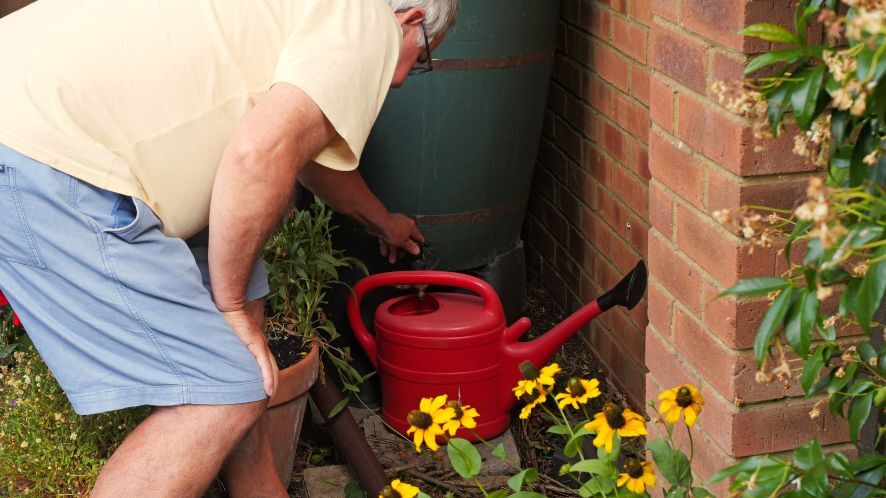
It should be less than 50cm away from your downpipe, unless you have an extension hose. Make sure the surface you’re putting it on is level and stable – your water butt will get heavy when it’s full. Then put your water butt in place – on a stand or a higher surface. It needs to be raised off the ground so you can fit a watering can underneath (and to give you a bit of water pressure if you want to attach a hose).
Drill a hole for the rainwater diverter
Check the instructions on your diverter for where to drill and what size hole saw to use. Of course, if your water butt has a pre-drilled hole you can skip this step.
Mark your downpipe
Next you need to mark a straight line along your downpipe, level with the centre of the diverter hole. So hold your spirit level at the centre of the hole and place it across the downpipe. Once you’ve got it level, mark a line across the pipe. This line shows where the bottom of your diverter should go.
Place your diverter against your downpipe so the bottom lines up with the line you’ve drawn. Now use the top of the diverter to mark a second line across the pipe. Most diverters need you to cut your downpipe twice, but check your diverter instructions just in case.
Cut your downpipe
When you’re happy with your lines, cut the marked section of the downpipe with a hacksaw. It’s best to cut slightly less than you think you’ll need to – you can always cut more off later if needed.
Fit your diverter
Following the diverter instructions, fit the seals on the downpipe, then attach the diverter to both sections of the downpipe. It may also help to loosen the screws holding the downpipe to your wall slightly so you’ve got more room to fit the diverter.
The final step is to connect the diverter’s feeder hose to the hole in your water butt, following the manufacturer's instructions. Make sure the hose is secure and doesn’t have any kinks or twists.
Now you’re ready to start collecting rainwater and giving your garden the star treatment! You don’t have to stop at one water butt – why not add one to downpipes on greenhouses, sheds or outhouses, or even link additional butts to your existing water butt to store even more water?
For more ideas about saving water in the garden, see our water-saving garden tips page.

-1.png?width=500&height=500&name=Untitled%20design%20(96)-1.png)